10 Photography Tips for Beginners
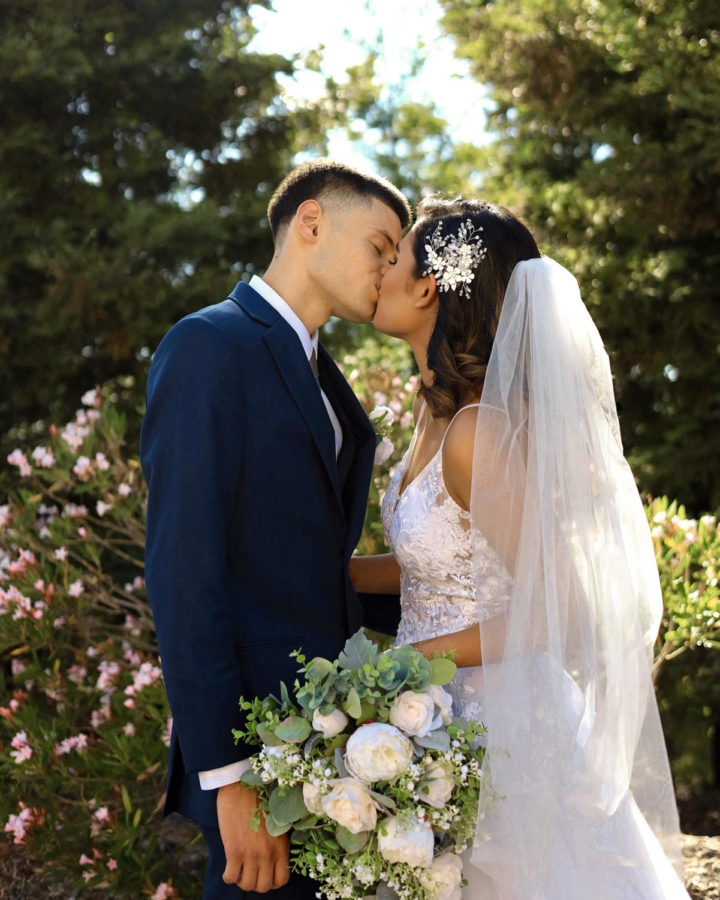
Photographing friends or couples can spark creativity and confidence behind the lens.
In today’s age, phone cameras are in the hands of everyone but the outcome of photos is nowhere near the same as DSLR cameras. To continue documenting important moments and changes in the world, photography is an important skill to learn, and a passion might form along the way. Even outside of that, to boost social media feeds with top tier photos, upgrade your gear and experience. The process of photography can take some time but learning more about photography and cameras can help with this process. For those starting out or wanting to move on from phone cameras to DSLR cameras, here are some tips to help along the way.
I have been working in portrait photography for over six years. During college I have photographed everything from seniors, weddings, engagements, families and so much more. Looking back at my photographs from the beginning often makes me cringe but the progress I see every year is huge. I learned many lessons the hard way and I wish I knew more starting out. I created this list of tips that I really could have used when I first picked up a camera.
Learn about your camera
With so many buttons and gears on a camera, it can be overwhelming. There are different settings on a camera that a photographer can take photos with. Research and watch videos to learn about the camera’s capabilities. Also, go out and experiment with different settings until comfortable. Some common recommended shooting options are the following: Programmed Automatic, Shutter-Priority, Aperture-Priority, and Manual. Some suggestions for consumer-grade cameras include: Nikon D3500, Canon EOS Rebel SL3, Canon EOS Rebel T7, and Sony A7 Mirrorless.
Rule of Thirds
This is a composition guideline that breaks an image down into thirds and the subject of the photo is placed within those dividing lines. Look at the screen of a camera and divide it into three equal parts, try to fill one of those. If every single photo taken in a gallery is centered it becomes boring and repetitive. Rule of Thirds creates dynamic movement that creates visual interest. Eventually after practice this becomes second nature.
Get closer
Rather than zooming in on the camera, take steps closer to the subject. Not all camera lens have the ability to zoom anyways. If the lens does allow, zooming will lessen the quality depending on the lens, so it is always better to approach the subject if circumstances allow. Zooming on a phone camera may look decent but if you are doing so on a larger screen the photos will appear pixelated.
Flatten the horizon
When taking any photos with a horizontal landscape make sure the horizon is flat and straight. Sunset and ocean pictures should not be crooked, unless this is an intentional look a photographer is trying to achieve. I have only lived in Hawaii for a few weeks and I see so many photos of crooked landscapes. Take instagram photos to the next level by just adjusting this small thing. If a crooked horizon does happen on accident, this can be fixed with a rotation and crop tool in post production.
Avoid flash
Camera flash decreases the quality of a photo. To avoid using flash, schedule photos around the time of day with ideal lighting. Early morning and evening before sunset are the best time of day for natural light. If a photo needs to be taken when it is dark, increase the ISO setting in the menu tab, rather than using flash. The ISO setting can be increased as high as needed unless the photos are looking too grainy. Low ISO starts at 100 and high ISO is around 6400, thus the higher the setting the more grain the photo will gain.
Learn about exposure
Lighting can make a difference in quality of a photo. If the lighting is poor at a photoshoot, photographers can slightly change this manually. There is a settings on cameras called “manual exposure.” Manual exposure allows a photographer to increase or decrease the exposure to help the lighting in your photo. To increase and lighten, move the (+) to decrease and darken move the (-).
White balance
White balance settings on a camera adjusts colors to match lighting sources and can be found in the menu tab. Different lighting has different colors. Blue, green, and yellow tints are given off in photos from different LED light bulbs. White balance fixes the light sources so that white objects appear white, rather than different colors.
A tripod is a good investment
A tripod will reduce movement and shaking when taking a photo, ultimately increasing the quality of a photo. For those that drink a lot of coffee, a tripod will be your best friend. This is especially helpful when taking photos of a landscape or places with less light. For affordable tripods, Target has a good selection within the $30 range to start with.
Identify the subject
Knowing the subject of a photograph is important to make decisions about lighting, settings, and more. If the subject is a person, spend some time getting to know the person. This will make the photographer and the subject more comfortable and creativity will flow freely. For example, when I do graduation photoshoots I like to spend time before the shoot getting to know the senior. I ask about their plans after school, hobbies, and their vision for the photoshoot. This creates a more personalized experience and the clients often feel they can trust you and your work.
Learn through mistakes
The best form of learning is through what we are doing wrong or could do better. Images will improve the more practice is involved. Just keep taking pictures and there will be an improvement over time in photo taking and editing.